
Resco is used by more than 2500 customers around the globe. We have seen a wide range of implementations, utilizations, use cases and scenarios of Resco’s mobile solutions. Often, we are impressed with creative ways our partners and customers leverage our technology.
There is a huge number of client implementations that include some sort of inspection-related activities: be it surveys using custom logic, check in/check out, drag ‘n’ drop scheduler, and more. Possibilities of using mobile devices and applications for inspection purposes are almost limitless – no matter the use case. Several Resco partners and customers have created heavily customized apps to provide an effective inspection execution.
And that is how the idea of Resco Inspections was brought to life
Based on the number of users implementing Inspection scenarios into their mobile processes, we decided to create a full-fudged vertical solution for field inspection purposes.
Resco Inspections is the biggest product we introduced since Resco Mobile CRM in 2009. Both products can be integrated with Salesforce without compromises. If you’d like to create your own editable dynamic check-lists entailing Salesforce data, you can start inspecting now. The easiest way to explore Resco Inspections’ capabilities is to run our free trial with demo data. However, you can also try Inspections with your existing Salesforce organization. And this is what we will zoom in on now.
Set up your organization
Install Resco Managed Package to your organization
Start by visiting Salesforce AppExchange and install the Resco Managed Package to the Salesforce organization in which you want to run Resco Inspections.

Note: You have to assign Permission Sets (or create Custom Profiles) to all non-administrator users who will use Inspections. Assign the Resco Inspections user permission set to users working with Inspections via the mobile app and Resco Inspections Designer to users working with Inspections using Resco Inspections Lightning App.
Connect Resco to your Salesforce organization
Download the Resco Inspections app from the app store native to your device.
Android
iOS
Windows
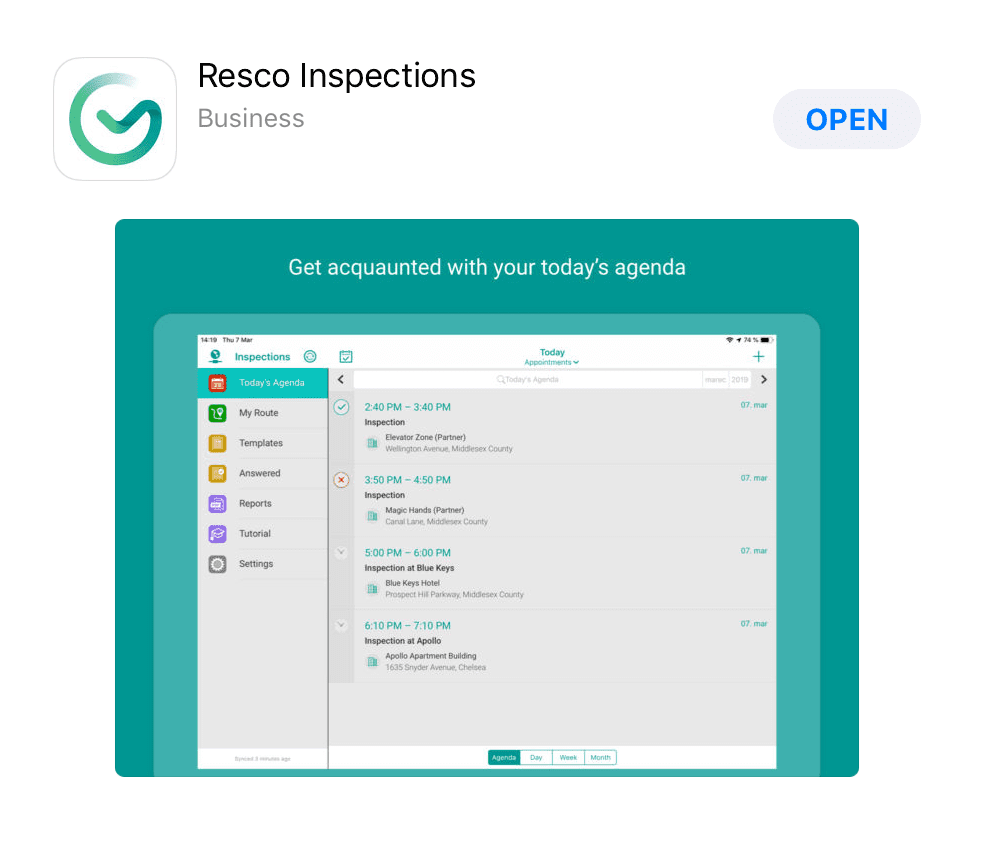
Install it and follow this guide to connect the app to your organization.
You can connect to Resco with any Salesforce account. However, only by using the administrator or other account with privileges to see all business objects, profiles and users you will ensure that connection runs smoothly and everyone from your organization can use Inspections without a problem.
Set up the Woodford configurator
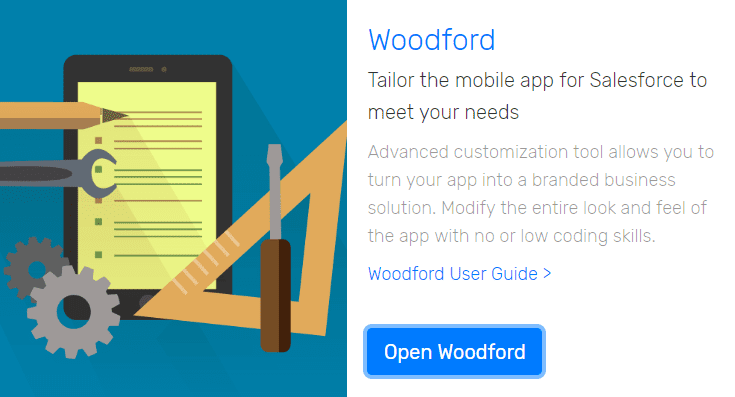
Continue by opening your browser and navigating to the Resco for Salesforce website (https://salesforce.resco.net or https://salesforce-test.resco.net if you are connected to a sandbox) and log in with your Salesforce credentials. On the landing page, open the Woodford tool.
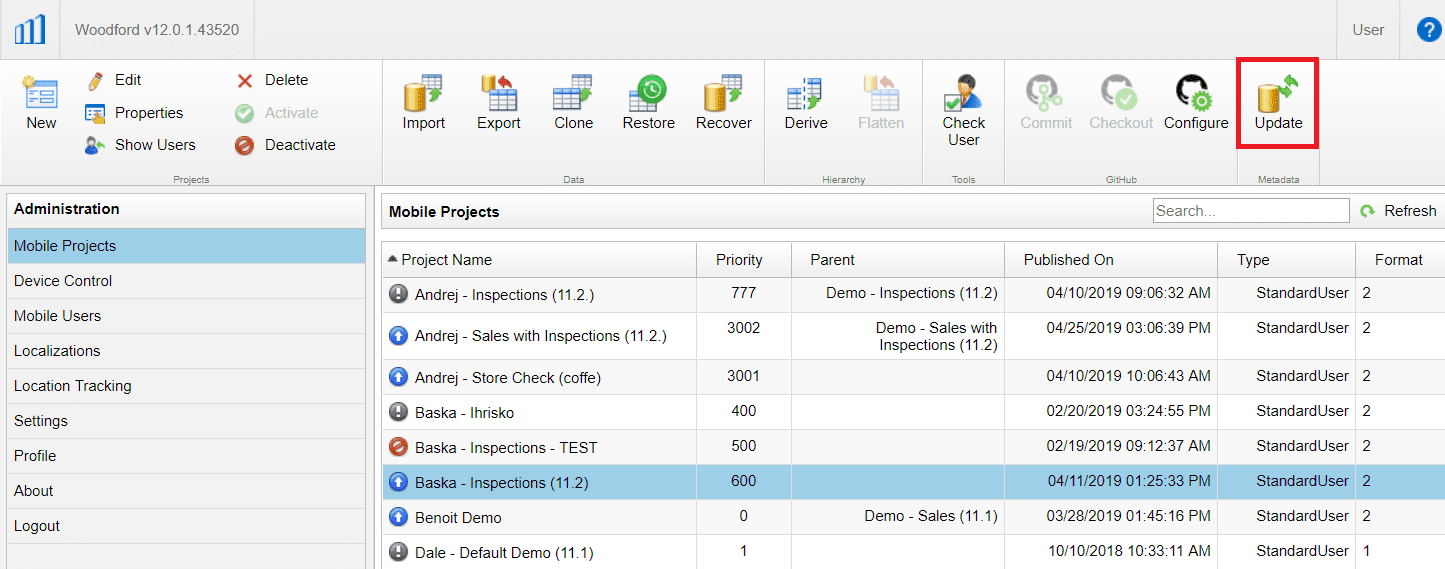
By default, Woodford works only with standard Salesforce objects and fields after its first connection with Resco. All you need to do is to sync the solution with all the custom objects and settings you have in your existing organization. Here is how:
The first thing to do then, is to click on the Update button on the top of the screen and wait while your custom settings are downloaded to Woodford.
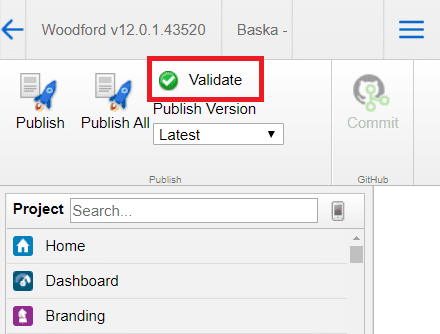
Now open a default project called Inspections. First, hit the Validate button to see if your organization’s metadata are compatible with settings in the default project.
Depending on your Salesforce customization, there is a possibility that some standard fields on Account, Contact or Event objects will not be enabled in your organization, so just remove them from Views or Forms to resolve the warnings.
Now you can customize the project to your liking. Feel free to change colors and branding, enable custom objects and add them to menus, import Salesforce list views and layouts, or create your own and much more. See Woodford Quick Guide for Salesforce to get you up to speed with the tool.
Finally, you need to publish your modifications so that the mobile application can pick them up. Just hit the Publish button on the top of the project screen and once the process is finished, you are done.
Create or Import Inspection Templates
The beef of Resco Inspections is the ability of selected business users to create Questionnaire Templates (Check-lists) to be filled by inspectors in the field.
In Resco for Salesforce, you can access the Questionnaire Designer directly by choosing the Resco Inspections app from the App Launcher and using the Questionnaire Designer tab.
Note: You need to have My Domain enabled and deployed in order to use the Resco Inspections app on your organization.
It is also possible to design the questionnaires directly from the mobile app. We recommend using the Modern Windows version, although you can conveniently create Questionnaires on an iPad as well. Just open the mobile app and click on the Desginer menu item to invoke the Questionnaire Designer.
To start quickly, just use the Demo Data button and choose one of the predefined questionnaire templates.
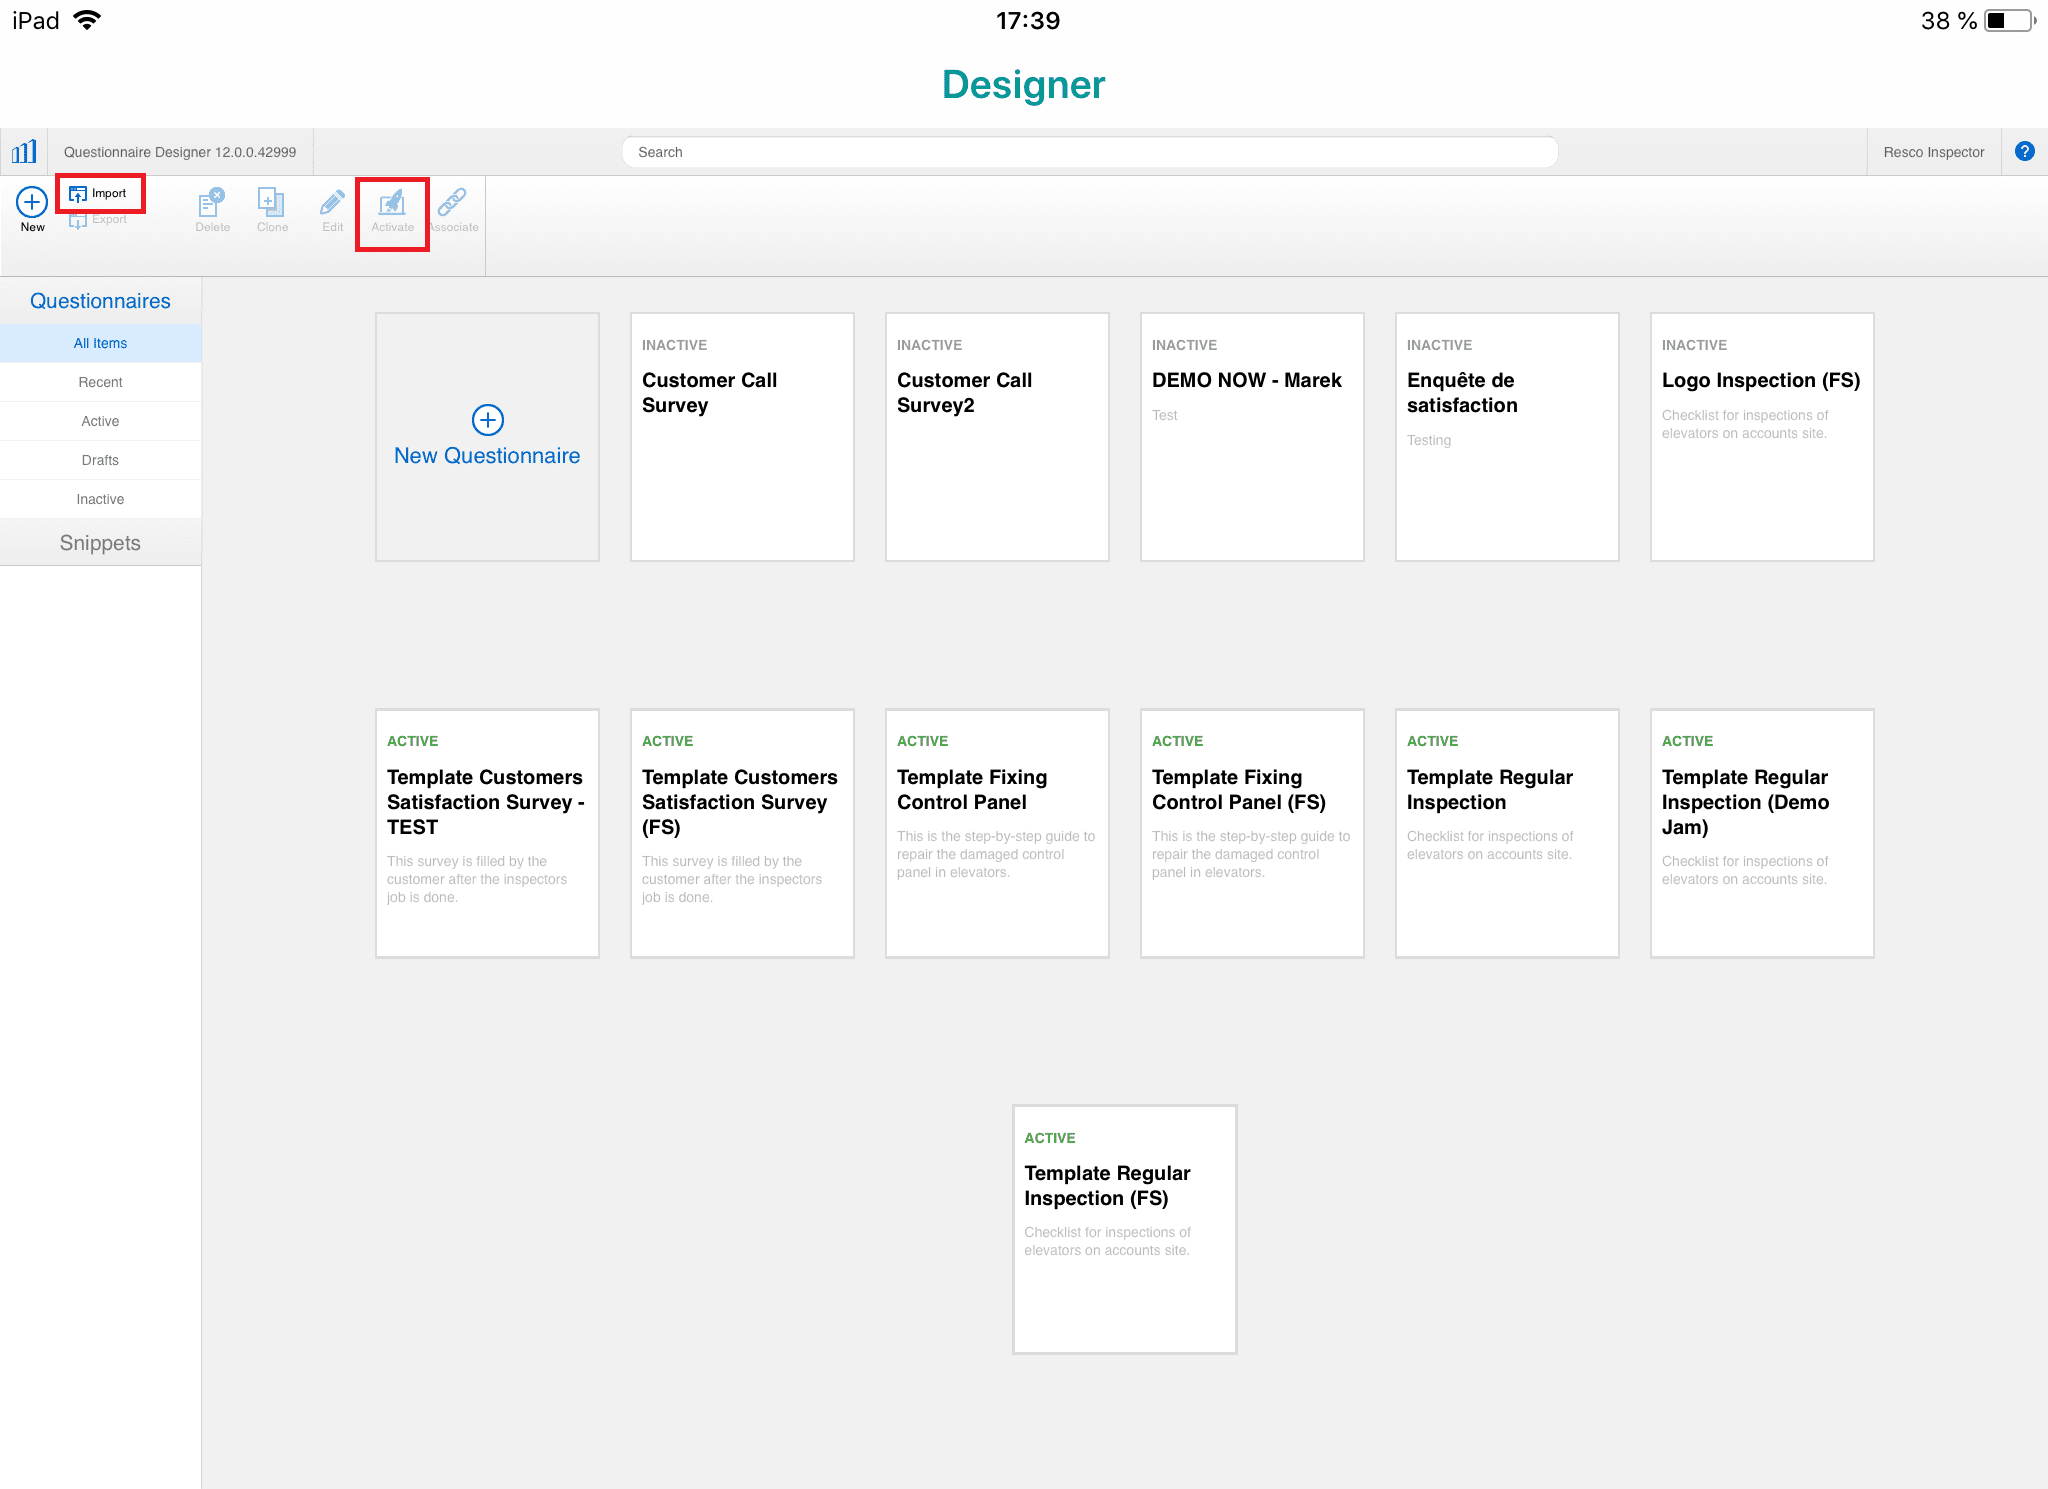
Don’t forget to Activate the questionnaire to make sure it appears in the mobile application.
To go deeper and master questionnaire design, refer to this comprehensive guide.
Create or Import Inspection Reports
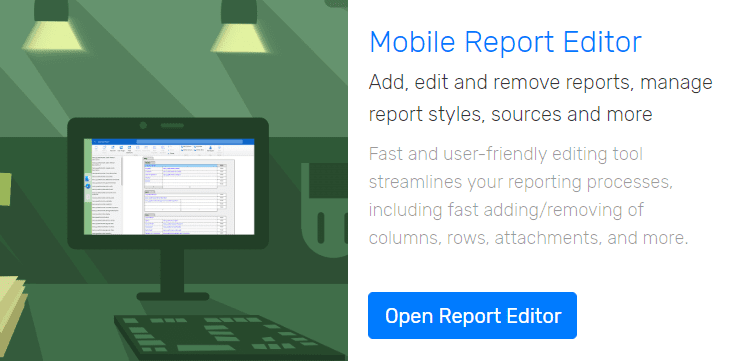
Very often, the last step of a successful inspection in the field is to provide a customer with a nicely formatted report. Resco Inspections suite gives you a visual Mobile Report Editor tool to create report templates – so that you can generate the reports directly within the app, even if you are completely offline.
Before you start, make sure you have the general-purpose Automatic Report available in your organization. This report can be used with any questionnaire template. To ensure it is present, just go to your app project in Woodford, select the Inspections menu item and click on the Install Report button.
To launch the Designer, click on Open Report Editor on the Resco for Salesforce landing page (https://salesforce.resco.net or https://salesforce-test.resco.net).
Now you can create a new report by clicking on the New button.
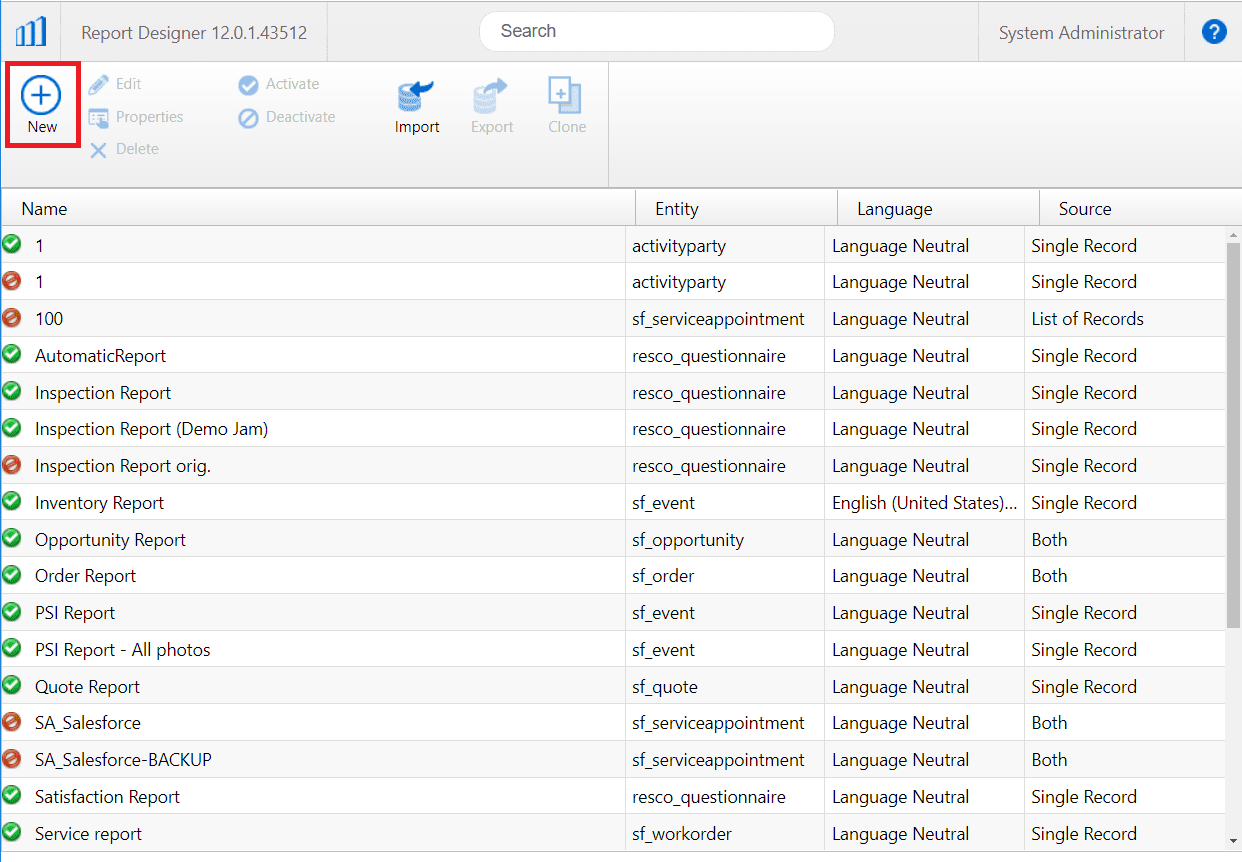
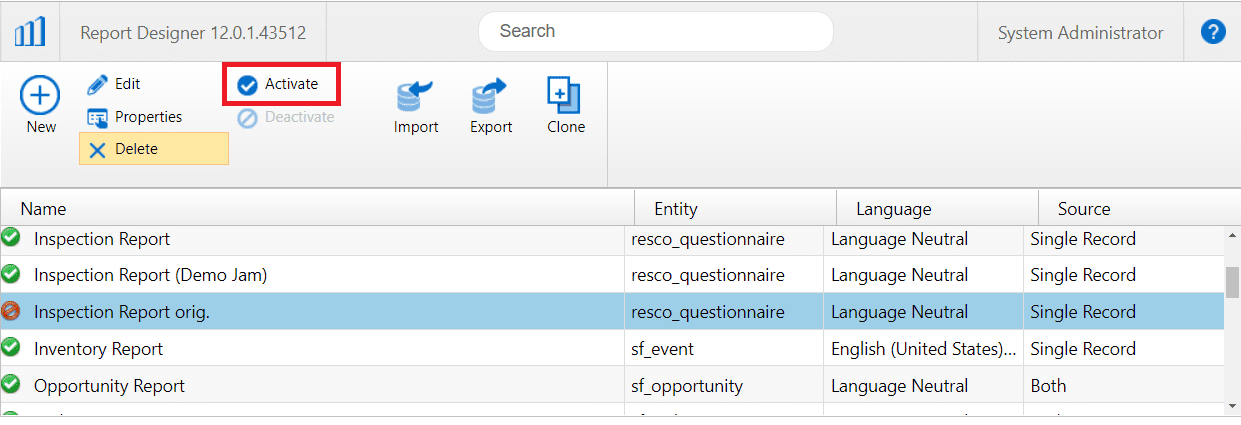
Don’t forget to Activate the report to make sure it appears in the mobile application.
Try Inspections in the field, explore further and share your thoughts with us
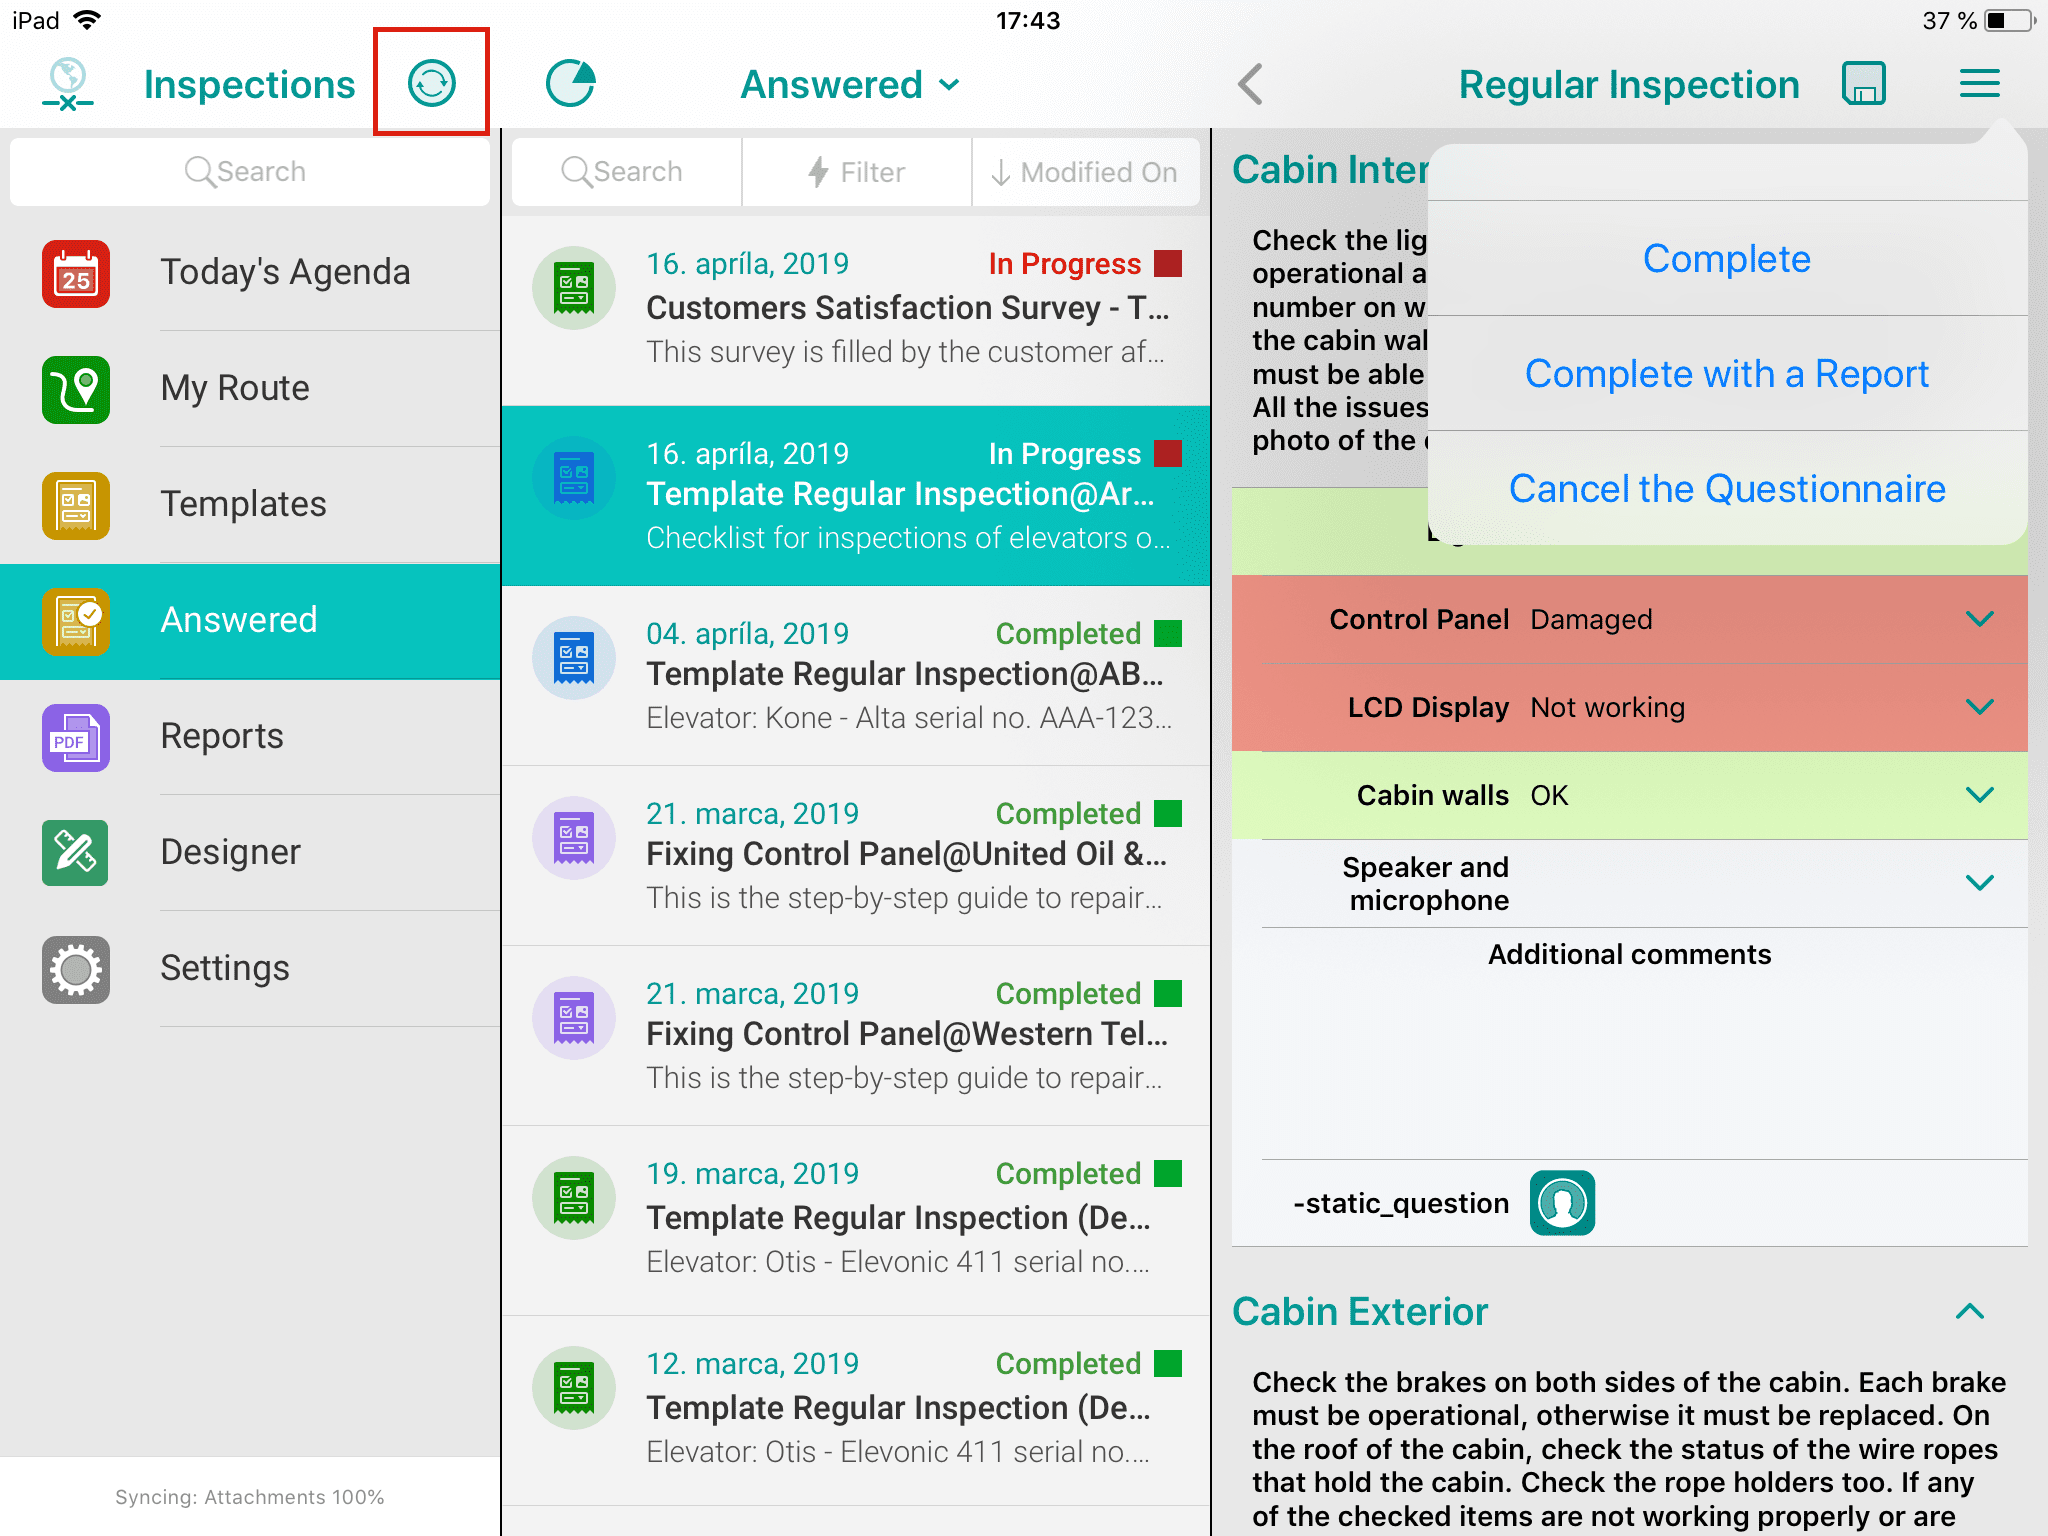
Now just head back to your mobile application, use the Sync button to sync with the latest changes and feel free to start your Inspections journey in the field.
Please don’t hesitate to contact us at salesforce@resco.net if you have questions or just feel like sharing your thoughts and ideas for further improvements of Resco Inspections.