
Make a QR code for quick logins
Creating your own login QR-code is a very useful, timesaving move. You can use any QR-code generator to create a QR-code text similar to this:
UserMode=Standard [Standard, External, Anonymous, CurrentUser, OAuth2]
Url=YourURL
UserName=YourUser
Password=YourPassword
SavePassword=0 [1,0]
HomeRealm=YourHomeRealmAddress
Note: Make sure you don’t have any whitespaces in the text. The parameters in square brackets are the options you can use for a particular field. Choose only one of them according to your login requirements.
Keep in mind that you don’t have to use all these rows in your QR-code. Only use those that are necessary for your login/sync.

You can try to scan the example QR-code below and see how this example actually looks like in the application. This is the text used to create the QR-code:

UserMode = Standard
Url = YourURLHere
UserName = YourUserNameHere
SavePassword = 1
Run multiple Resco CRM apps on Windows
Have you ever wondered whether it is possible to run multiple Mobile CRM applications at the same time on your device? The answer is yes, but only on Windows.
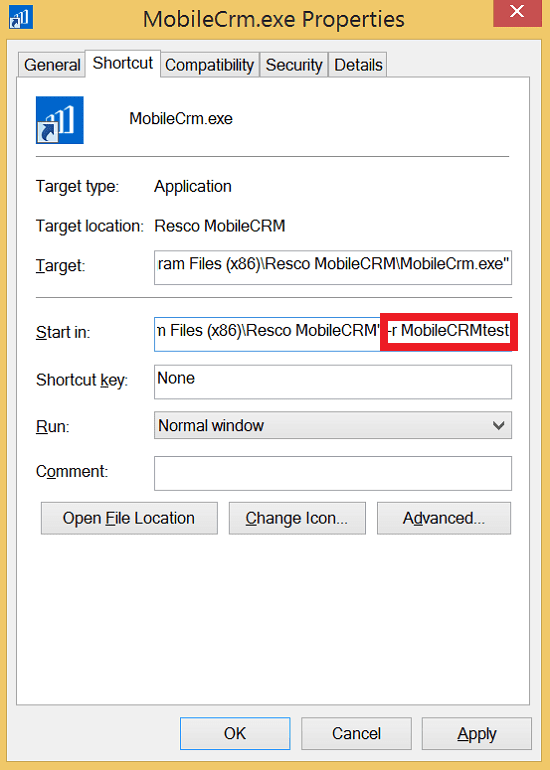
In general, the desktop application can be used in multiple instances. You just need to have more than one application folder and shortcuts that specify the application folder to be used.
The route to the application folder for desktop app is %LOCALAPPDATA%\Roaming\MobileCRM\ for Windows 7 – 8.1 or %APPDATA%\MobileCRM\ for Windows 10.

All you need to do is to create a shortcut with following target “C:\Program Files (x86)\Resco MobileCRM\MobileCrm.exe” -r MobileCRMtest (if you’d like to use multiple words in folder names use underscores instead of spaces). One of the advantages is the fact that you can create as many folders and shortcuts, as how many instances of the app you need to use.
This trick is also great when you want to test the latest version of the application while otherwise still working with the previous version. You simply update only one of these instances.
Restore view of a child project if changes were made by accident
Project hierarchies are very popular but you must keep in mind, that once you make changes in a child project, e.g. on a child project view – this view becomes “independent” and consequently doesn’t inherit changes from the parent project.
Don’t lose your hope if something similar happens in your project.
There is an option to restore the view of a child project and it is available in Woodford version 10.1. and higher. Simply, go to Entity Views, check the status of each view, choose the overridden one and simply click on Restore.

Use Auto List Header to quickly sort records
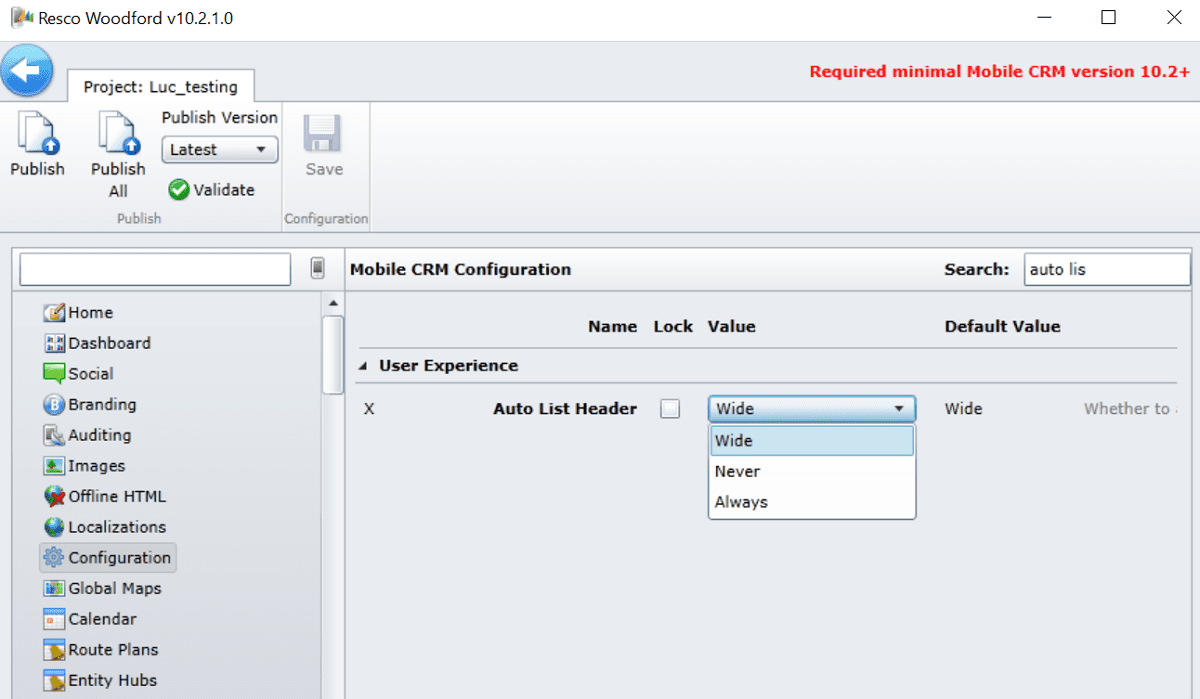
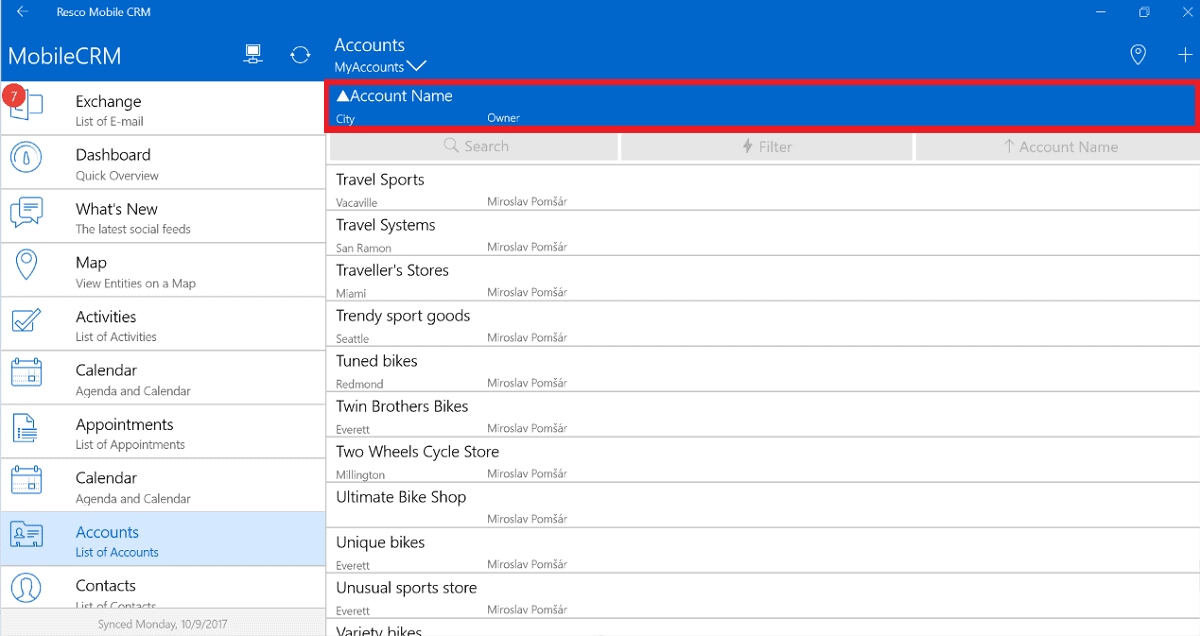
To show field names on a list view there’s the Auto List Header option in the Woodford configurator. While it is enabled, you can not only see the field names, but also sort the records on the list by clicking a certain field name.
To enable the Auto List Header, please go to Localizations in Woodford and search for this option. Once you see it, tap on its dropdown and choose from 3 simple options:
- Always – Auto List Header will be visible on all views of all entities.
- Wide – Auto List Header will be used on those views, which have defined the Next Wide view row. You can learn more about the Next Wide view option here.
- Never – Auto List Header will be hidden all the time.
Learn more on the 14-15th of March in Atlanta
Explore the capabilities of Resco Mobile CRM in detail at resco.next – our very own conference focusing on business mobility. Make sure to reserve your spot at the event website.